Adding a New Board
This guide is tailored for FPGA and RF engineers looking to extend the LimeSDR_GW repository (available on GitHub at myriadrf/LimeSDR_GW) for custom SDR platforms or to add support for new boards. It introduces the LiteX framework, the backbone of the repository, which uses Python for hardware system description and integration. Unlike conventional HDL-centric processes, LiteX automates routine SoC tasks, allowing a greater focus on system architecture and RF functionalities.
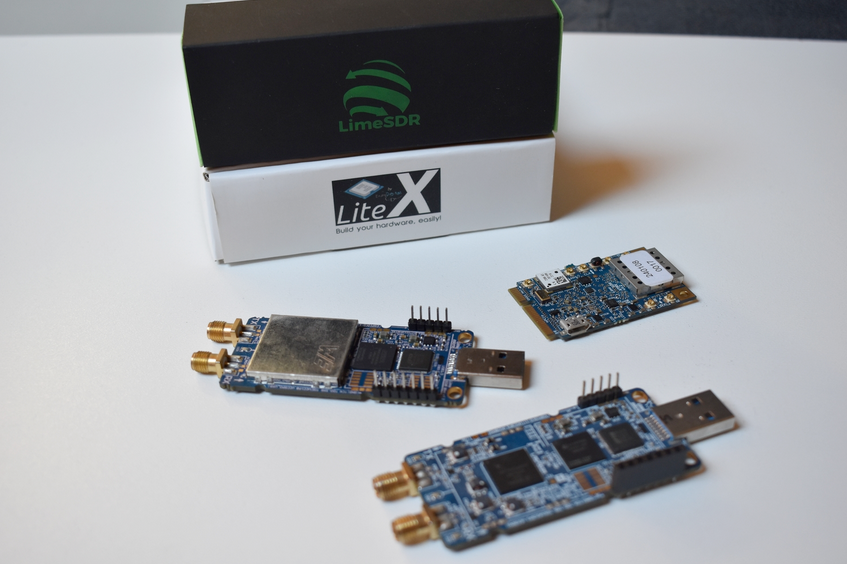
The LimeSDR_GW project brings together various SDR board designs in a portable, unified gateware ecosystem. By integrating LiteX with modular RF processing modules from LimeDFB, it simplifies maintenance, expansion, and adaptation across diverse FPGA architectures and hardware configurations. For instance, you might use this guide to incorporate an alternative RF transceiver, switch to a different FPGA vendor for cost savings, or prototype an SDR for applications such as 5G research or satellite communication.
This document outlines the process for adapting new boards, including repository organization, key LiteX concepts, and integration of elements like PCIe or USB interfaces. It assumes familiarity with FPGA workflows (synthesis, timing analysis, simulation) and basic Python proficiency.
If anything remains unclear, please submit an issue on GitHub—contributions and insights are highly encouraged!
Tutorial: Developing New LimeDFB Blocks
While the LimeDFB library provides reusable VHDL components for RF data processing (e.g., RX/TX paths, clock domain crossing, FIFO buffers), you may need to develop new blocks for custom RF functionalities or adaptations (e.g., a new signal path for an alternative transceiver). LimeDFB is designed for modularity, so new blocks can be added with minimal disruption, following VHDL best practices and integrating seamlessly with LiteX.
Steps to Develop a New Block
Create the VHDL Source:
Add your VHDL code in a new subdirectory under LimeDFB (e.g., custom_path_top/src/custom_path_top.vhd for a custom processing path).
Define clear interfaces (e.g., using AXI-Stream for data flows: s_axis_iq_tdata, s_axis_iq_tvalid, etc.).
Use generic parameters for configurability (e.g., generic (DATA_WIDTH : integer := 12);).
Ensure vendor-neutrality: Avoid FPGA-specific primitives; use inferred logic where possible.
Add Testbenches for Verification:
Create a testbench in the same subdirectory (e.g., custom_path_top/testbench/custom_path_top_tb.vhd).
Use VHDL assertions and stimulus generation to verify functionality (e.g., simulate input IQ samples and check outputs).
Include clock domain crossing tests if applicable.
Run simulations with tools like GHDL or ModelSim to validate before synthesis.
Document the Block:
Update docs/ with an overview: Describe architecture, interfaces, parameters, and usage.
Add WaveDrom waveforms for timing (e.g., JSON for input/output signals).
Include a block diagram (e.g., using Draw.io or ASCII art) showing data flow.
Reference existing LimeDFB docs for style (e.g., RX/TX path explanations).
Wrap for LiteX Integration:
Create a Python wrapper in LimeSDR_GW/gateware/LimeDFB_LiteX/ (e.g., custom_filter_top.py), following the pattern in Creating LiteX/Migen Wrappers.
Expose CSRs for control/status if needed.
Instantiate in LimeTop.py or your target file.
Test in simulation and on hardware.
For more on LimeDFB development, consult https://limedfb.myriadrf.org/.
Tutorial: Adding a Custom Board
This tutorial provides a step-by-step guide to adding support for a custom SDR board to the LimeSDR_GW repository. It builds on concepts from earlier sections, such as understanding_litex_boards_platforms_targets for platform and target definitions, Creating LiteX/Migen Wrappers for integrating HDL modules, and the repository navigation for file placement. We’ll use the LimeSDR Mini V2 (files in boards/platforms/limesdr_mini_v2_platform.py and boards/targets/limesdr_mini_v2.py) as a template, assuming your custom board has similar features (e.g., LMS7002M transceiver, USB/PCIe interface) but with adjusted pinouts, FPGA device, or peripherals. Adapt as needed for your hardware.
Note: While LiteX simplifies FPGA development and board porting through abstractions, it is not magic—significant differences in hardware (e.g., new FPGA vendors, custom interfaces, or complex peripherals) may still require substantial effort and developer experience in areas like timing closure, vendor tools, or HDL integration. For boards closely aligned with existing ones (e.g., minor pin changes), the process is straightforward; otherwise, expect iterative debugging and potential contributions to LiteX if unsupported features arise.
Prerequisites: Ensure you have the required toolchain installed (see Toolchains section) and basic Python/VHDL knowledge.
Prepare the Repository Structure
Fork/clone the LimeSDR_GW repository.
Create a new directory if needed (e.g.,
boards/platforms/custom_board/), but typically place files directly inboards/platforms/andboards/targets/.Copy the LimeSDR Mini V2 platform and target files as templates:
cp boards/platforms/limesdr_mini_v2_platform.py boards/platforms/custom_board_platform.py
cp boards/targets/limesdr_mini_v2.py boards/targets/custom_board.py
Define the Platform (Hardware Constraints)
Refer to the Platform = Board + Constraints subsection for details on I/O definitions and timing.
Edit
custom_board_platform.py:Update the FPGA device (e.g., change
device="10M16SAU169C8G"to match your FPGA, like a different MAX10 variant).Modify
_iolist: Adjust pin assignments for clocks, LEDs, I2C/SPI, USB/PCIe, LMS7002M signals, etc., based on your board’s schematic. Group signals logically (e.g.,("LMS", 0, ...)) and setIOStandard/Miscfor electrical specs.Add/customize timing constraints in
do_finalize()(e.g.,add_period_constraintfor oscillators/clocks).Configure programming (e.g.,
create_programmerfor JTAG/USB loader).Add platform commands for synthesis options (e.g., optimization modes, flash settings).
- Example snippet (adapted from Mini V2):
_io = [
    # Clk (adjust pin/frequency for your board).
    ("LMK_CLK", 0, Pins("H6"), IOStandard("2.5 V")),
    # ... other I/Os like LMS signals, USB FIFO ...
]

class Platform(AlteraPlatform):  # Change to appropriate vendor class (e.g., LatticePlatform).
    default_clk_name   = "LMK_CLK"
    default_clk_period = 1e9/40e6  # Adjust for your clock freq.
    # ... rest as per template ...
Define the Target (SoC Integration)
Refer to the Target = SoC Top-Level + Flow Control subsection for SoC wiring.
Edit
custom_board.py:Import your new platform:
from boards.platforms.custom_board_platform import Platform.Update CRG class: Adjust clock domains/frequencies (e.g., PLL setup if needed).
In
BaseSoC: Customize CPU type/variant, memory sizes, and integrations (e.g., add I2C/SPI masters, LimeTop for RF paths).Connect peripherals: Wire LimeTop to host interface (e.g., FT601 for USB), add UARTBone if desired.
Add optional features: LiteScope for debugging, SPI Flash if supported.
Update constants (e.g., FIFO sizes, packet widths) for your board’s bandwidth needs.
- Example snippet (adapted from Mini V2):
class BaseSoC(SoCCore):
    def __init__(self, sys_clk_freq=77.5e6, ...):
        platform = Platform()  # Your custom platform.
        SoCCore.__init__(self, platform, sys_clk_freq, ...)
        self.crg = _CRG(platform, sys_clk_freq)  # Customize clocks.
        self.limetop = LimeTop(self, platform, ...)  # Adjust params.
        # ... connect FT601/PCIe, add wrappers ...
For RF integration: If using LimeDFB, wrap new/custom modules (see Creating LiteX/Migen Wrappers) and instantiate in LimeTop.
Test: Run a simple build to verify syntax and basic constraints (e.g.,
python3 -m boards.targets.custom_board.py --build). Check for errors in generated files (e.g., constraints) before proceeding.
Add Build/Flash Logic
In the target file’s
main(): Update argparse for board-specific options (e.g., toolchain, flash commands).Handle multiboot/golden images if applicable (see Gateware Update Mechanism).
Build firmware: Ensure
firmware/Makefile points to your board (e.g., viaenv.mak).
Verify and Debug
Follow the Minimal Verification Design subsection below for a basic SoC test.
Build:
python3 custom_board.py --build --toolchain=your_toolchain.Load/Flash: Use
--loador--flashargs; verify with LimeSuite (e.g., detect board, run LimeQuickTest).Debug: Add LiteScope probes (e.g., for USB/PCIe signals); use JTAG if issues arise.
Test RF: Integrate RX/TX paths, validate with GNU Radio scripts from
tools/.
Best Practices and Contribution
Follow naming conventions (see File, Module, and Signal Naming Conventions).
Ensure portability (see Developing for Portability Across Devices and Vendors).
Document: Update
docs/with your board’s build instructions/diagrams.Submit a PR: Include platform/target files, tests, and any new wrappers.
If your board uses a different FPGA/vendor, minimal changes to platform/toolchain suffice due to LiteX abstractions. For issues, open a GitHub issue.